


by Dr. Lee Gary, on 2/25/19 1:24 PM
3 Easy Steps to increase case acceptance using photography.
One day the lightbulb went off for me and it was that day was a true turning point in my career. I finally realized that myself, and many others are visual learners. We all make decisions every second of every day based on the information all around us. Some are visual learners, some are auditory learners, and some are kinesthetic which means they learn by feeling. And of course we can any combination of all 3. So how do you think your patients make decisions about moving forward with treatment? Are they strictly auditory? Will they move forward with your suggestions or services based strictly on what they hear? For many years, this is what I was hanging my hat on until I started running out of hats because very few people were saying yes to treatment. I couldn’t afford any new hats!
Why do car dealerships have cars on display? Why is a “test drive” one of the first sales techniques they resort to? Because once you see, hear, and feel how that new car drives then they’ve almost certainly got you hook, line, and sinker! The truth is our patients are making the same type of decision even when it comes to their health and particularly their oral health. They need to see it, feel it, and sometimes hear it. When was the last time you made an elective decision to purchase something that required a significant investment sight unseen? Here are 3 steps I took to greatly increase my patients moving forward with treatment especially 6MS.
STEP 1 – MAKE A COMMITMENT.
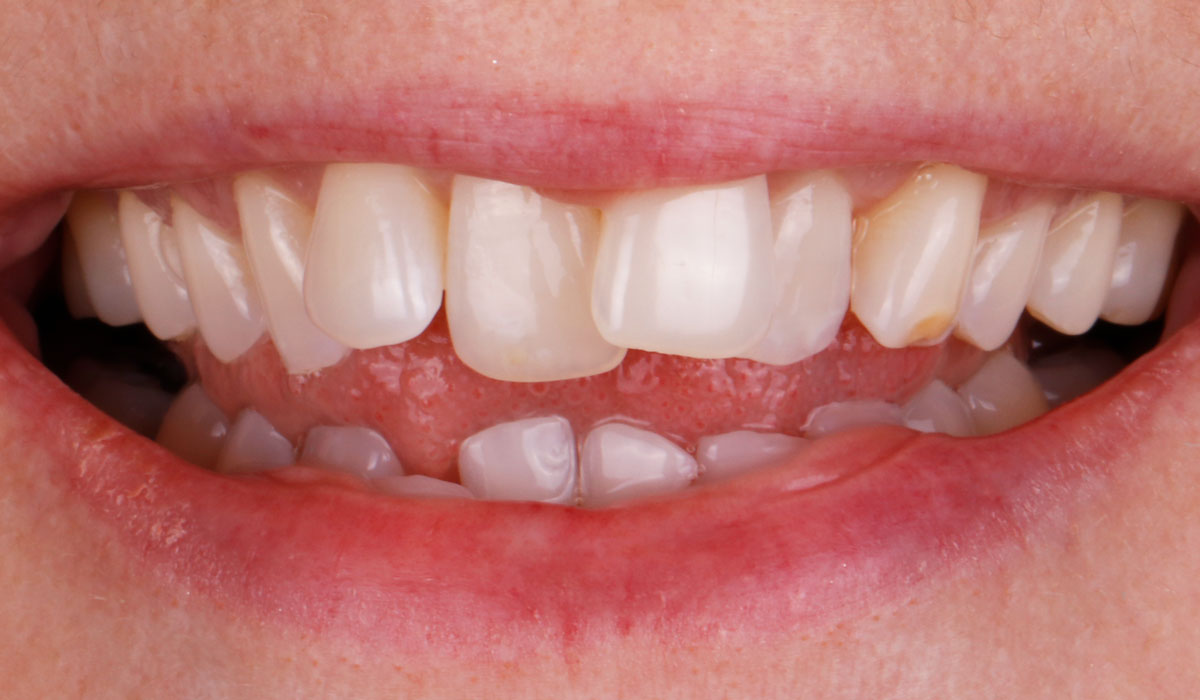
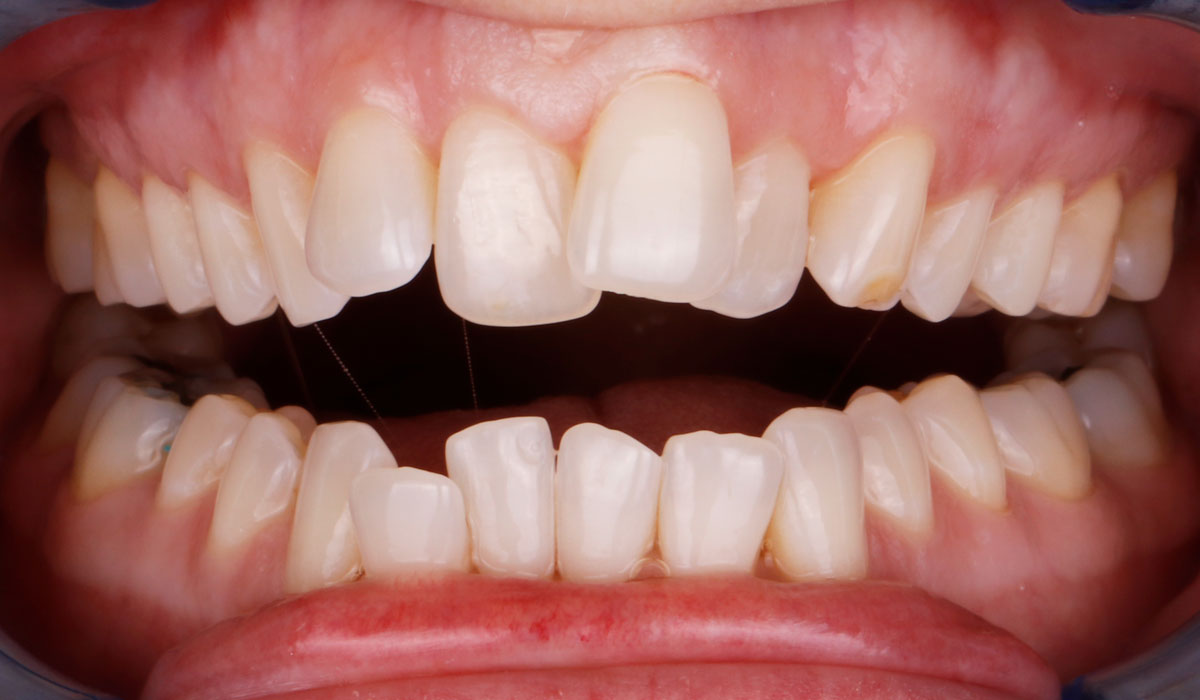
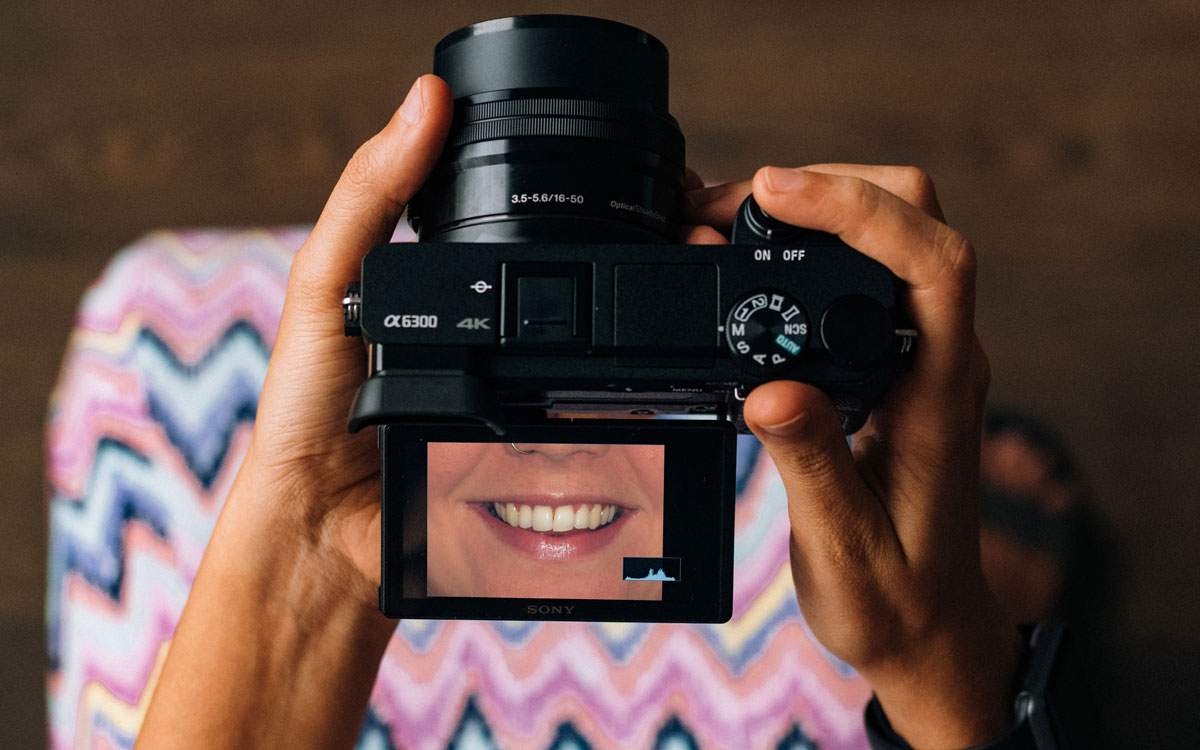
Make a commitment to getting at least 2 simple, key photographs with each patient. These work especially well with patients who are curious as to how they can improve their smile. The first photograph is the close up view of the smile. The key to this photograph is to only have the lips and teeth in the photograph. Try to avoid capturing other parts of the face particularly the eyes and neck. We want them focused strictly on their smile and not any other imperfections in their face. The wrinkles around their eyes, their nose hairs, or smudged makeup is not something we want them concentrating on. The second simple, key photograph is the close up retracted view with teeth slightly apart. This undoubtedly gives the patient a view of their teeth they have never seen before? It’s a great visual message of color, crowding, spacing, chipping, or wear. These 2 photographs are easy to take and paint a picture for the patient that they can’t deny.
STEP 2 – Equipment really does matter.
It’s hard to take a photograph without a camera so maybe this should be step 1. After seeing hundreds of pictures made by other dentist, I’ve concluded the type of camera effects the power of the message. The DSLR with a macro lens and external flash is the gold standard in dental photography at the moment. This type of setup gives you the most capabilities to take exceptional photos. The better the photo, the stronger the message. I personally shoot with a Canon 80D with a Canon EF 100mm f2.8 USM macro lens and Canon MR-14 EX II macro flash. The other end of the spectrum is the compact, point and shoot camera or a smart phone. Although these cameras are smaller, less costly, and at first seemingly less complex; the quality of the photograph and the strength of the message are diminished. Something that can bridge the gap of size, cost, and complexity between the DSLR and compact camera is a bridge camera. Although they have some limitations, these types of cameras can take great photographs and be simple to use. An example of a bridge camera would be the Canon Powershot SX740. These are great for hygienist and auxiliary team members. Point and shoot!
STEP 3 – Position your patient and yourself for success.
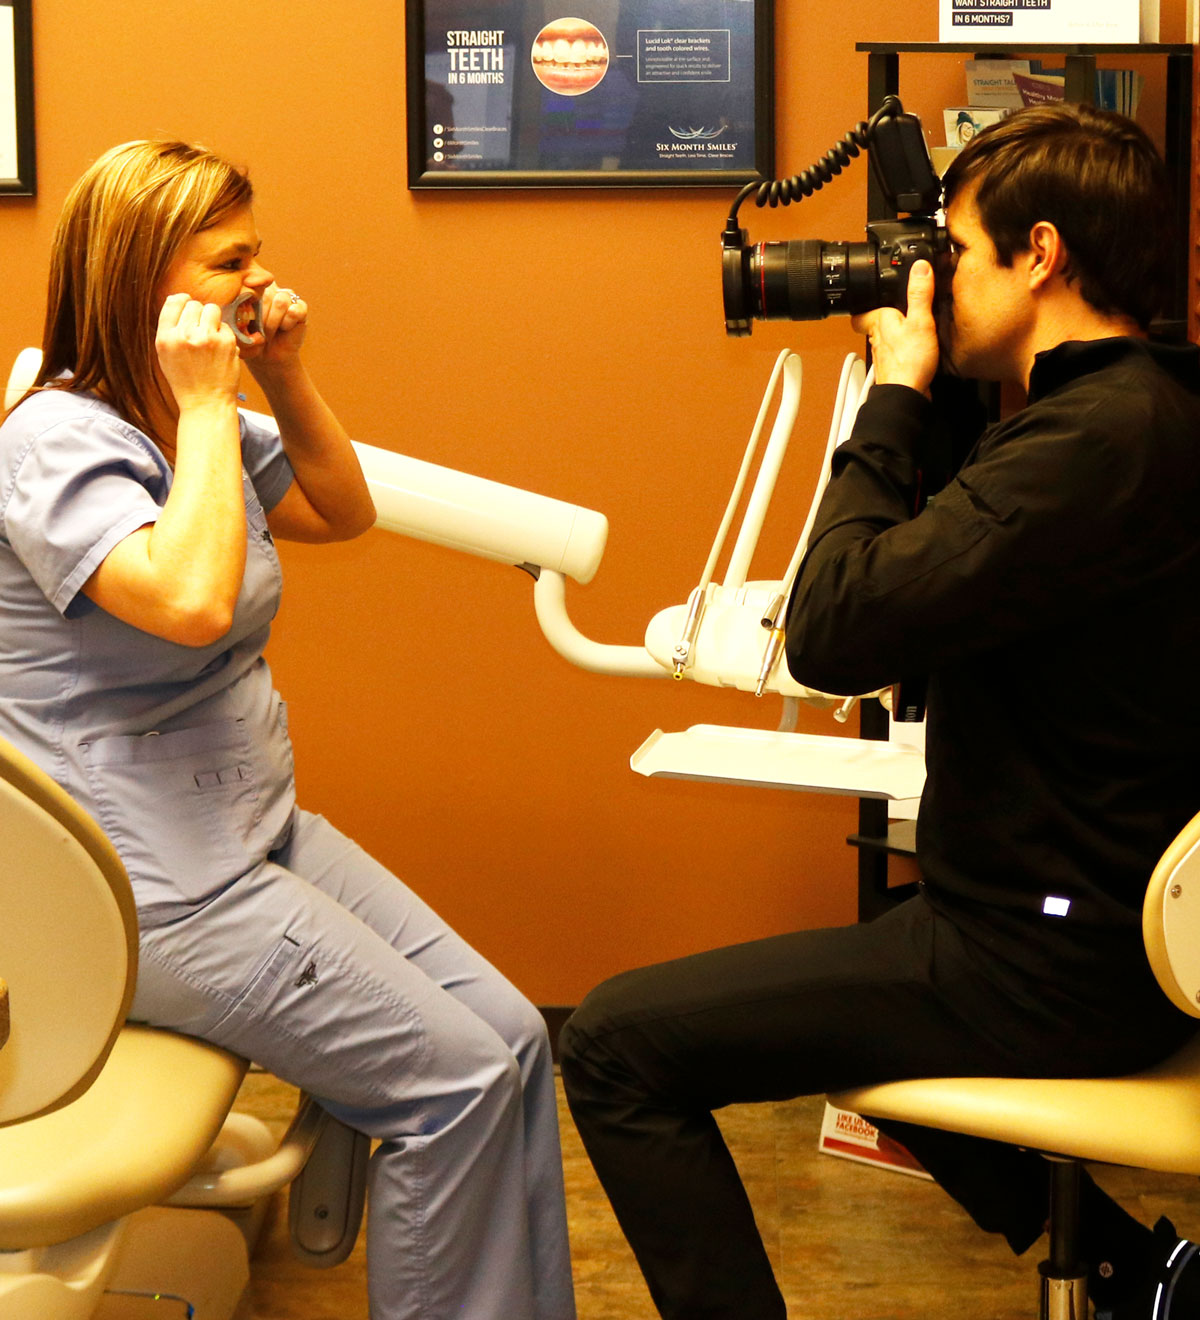
The most common mistake I see in photography is angulation and composition. Make this easy by positioning the patient on the side of the dental chair, feet flat on the floor, and sitting straight up. Next, position yourself directly in front of the patient, preferably also sitting so that you are comfortable, at the same height of the patient. This allows you to easily be parallel with their smile and take your photo directly in front. All in all, these 2 photographs take me less than 1 minute to capture. The right camera can make sure your pictures are in focus with the proper exposure.
In 13 years of private practice, if I could name one piece of equipment that has given me the largest return on investment, without question it would be my camera. I’ve interacted with hundreds of other successful dentist who would also agree. Case acceptance and photography go hand in hand. Focus on your success and starting taking those photographs and increase your case acceptance today!

Dr. Lee Gary, D.M.D
A native of Yazoo City, Dr. Lee Gary received his degree from Mississippi College and his doctorate in dental medicine from The University of Mississippi Medical Center School of Dentistry. Dr. Gary is dedicated not only to... read full bio →